When summer is here and the list of edible fruits and veggies that can be planted in Southern CA is at its shortest,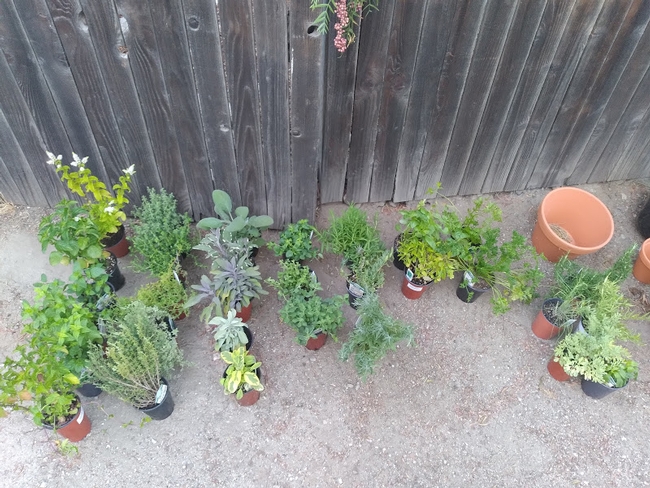
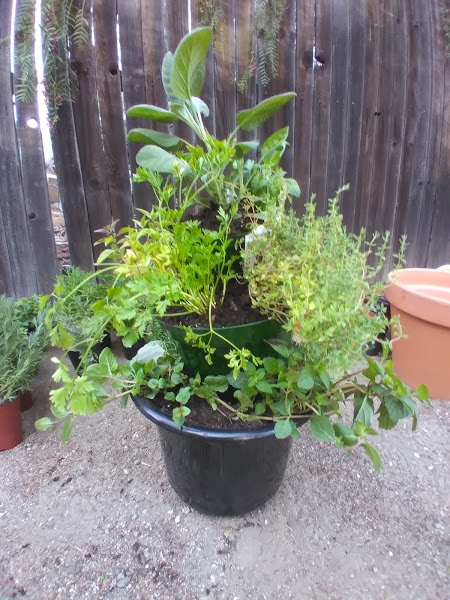
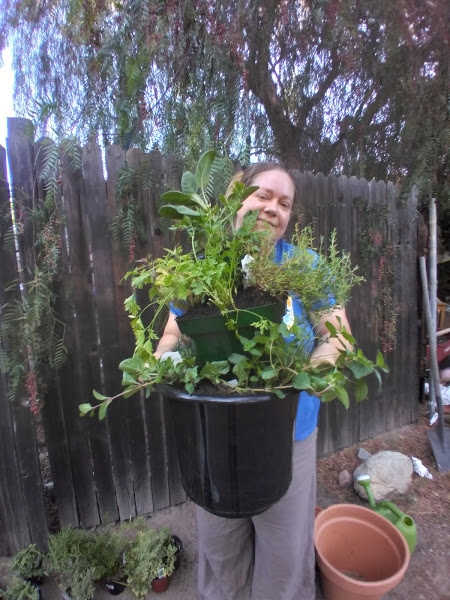
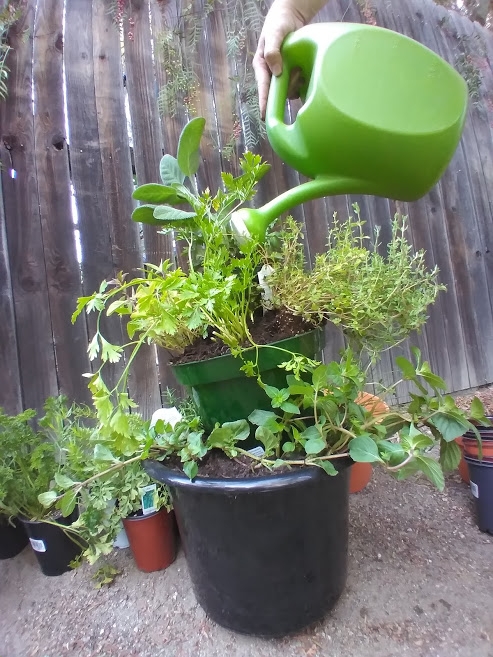
-It takes up very little room and it's portable. The stack of three pots can take up as little as 12 to 14” of space on your porch or growing area. This is great for areas where you don't have a lot of room to grow and it also makes it easy to find room right by your kitchen or porch door. That said, I have gone on to create larger versions of this and mini versions of this and all sorts of versions in between, but the basic set up below is a good place to start before you try different versions.
-Great for many varieties of herbs in a small planting area. The top tier of the herb garden is on the drier side and is great for growing herbs that like a drier soil. I like to put thyme or sage at the top. The middle tier is great for plants that need a little more water, but don't like to be too wet. Herbs like basil, marjoram, oregano, chives, and cilantro will do well on the middle tier of the herb garden. The bottom level is a little damper and is a great place to grow herbs like mint (planting the mint in a pot keeps it from taking over your garden too!), chives, parsley, basil and chervil. Rosemary and fennel do well in the three-tiered system but tend to get big, making them a better choice for a larger herb garden, or planting in beds. Lavender is susceptible to diseases at it's crown and do best planted in well-draining soil and given lots of space to grow.
-It's great for people who forget to water (that's me!!)! The top and middle tier pots have drainage holes so when you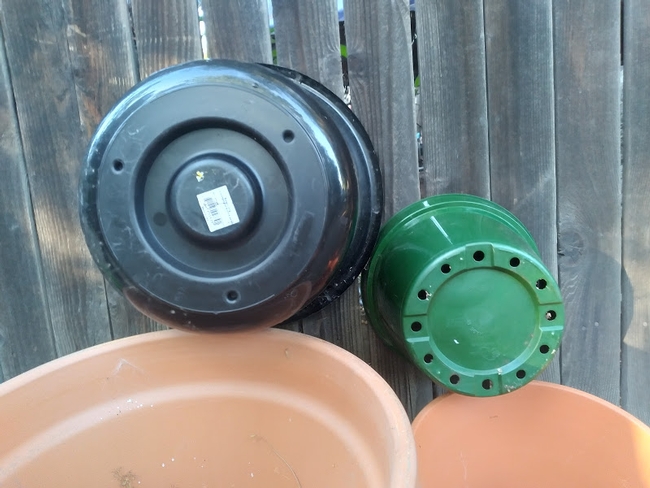
-Great, easy to transport, gifts for people who love plants, and a fun way to get creative in the garden. I got started with one, and I have gone on to make big ones (with a half wine barrel as the bottom pot and then the middle and top pots being 14 and 8 inches across) that can grow a larger volume of herbs that I use a lot of in my kitchen. I have gifted several three-tiered herb gardens and they are always cute and fun gifts!
Follow these easy steps to plant your own three-tiered herb garden and send our Master Gardeners an email or give them a call if you have any questions, we are here to help!!
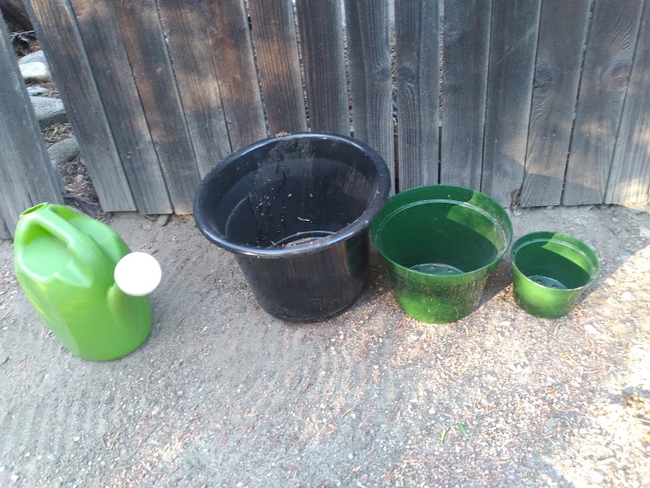
Supplies needed:
-3 pots of different sizes (for example a 14” pot, an 8” pot and a 4” pot) The top and middle pot should have drainage holes for maximum benefits of stacking. The bottom pot is best with drainage holes to ensure proper water, and prevent salt buildup, but it is less important for the plants that can handle soil that is more moist.
-Good potting mix or soil. You can mix some compost in as well. Herbs, like most fruits and veggies do best in well-draining soil that is rich in organic matter. They don't usually need as much fertilizer as other produce, but you can mix a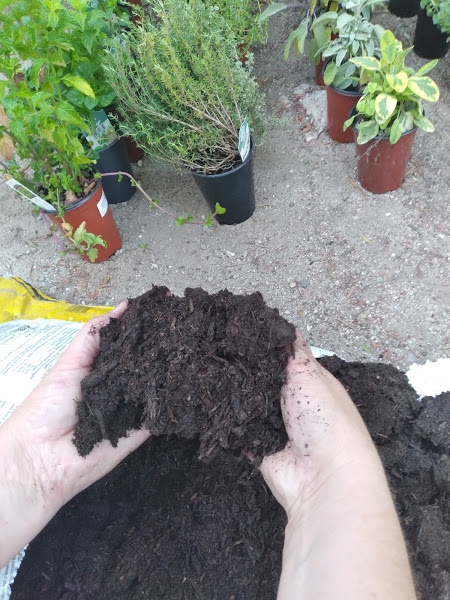
-Your herbs! You can plant transplants or seeds depending on what you prefer, and how much time you have. There are a wide variety of herbs you can plant, but here are a few ideas:
Top tier: sage, thyme or rosemary if you keep it small, or have a large set of pots
Middle tier: sage, thyme, chives (garlic or onion), marjoram, oregano, fennel (with a larger pot system), dill, green onions, chervil,
Bottom tier: Mint, basil, parsley, cilantro, marjoram, oregano, green onions
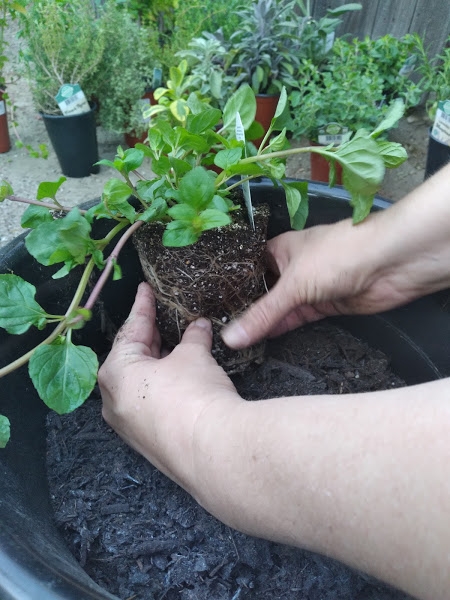
Step 1) starting with your bottom pot, fill it halfway with soil. Set your plants (I usually put about 4 or 6 plants on the bottom tier depending on how big your pots are) at an angle facing out a bit. Remember that your plants won't have a lot of room on the surface of the soil, but they will have lots of room for their roots to grow under the pots that are stacked on top. Add soil to your transplants as you would when you are doing your regular planting up to the previous soil line, but leave the level in the middle of the pot a little lower so you can set the second pot on top
Step 2) add your second pot (that has drainage holes) to the center of the first pot. Make sure it's level and sitting securely on top of the soil and begin 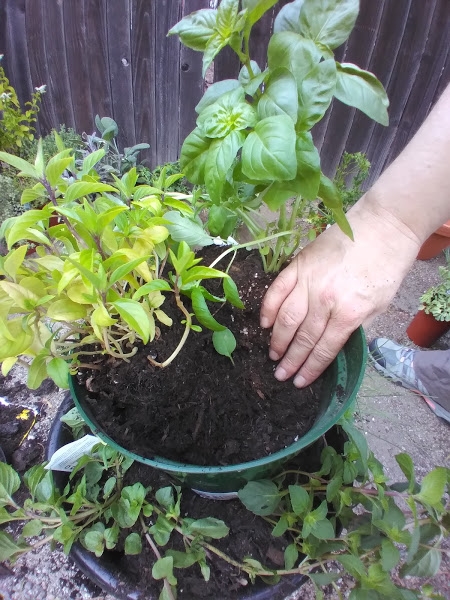
Step 3) add your last, top pot! Depending on how small the top pot is you may need to add a bit of soil to the pot before adding your top plant (usually just one plant), or if the pot is small enough it might not be needed. Just make sure the pot has enough room for your plant, and that you plant is high enough in the pot. Plant that plant as you would normally in the center of your pot, adding soil up the previous fill line.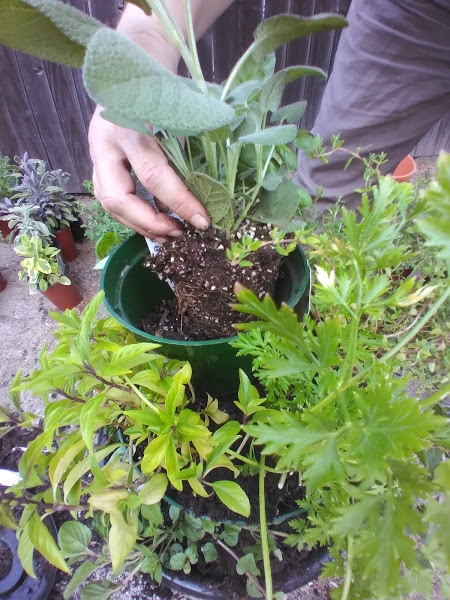
If you are planting seeds on any of the levels you would follow the same steps above, but instead of planting the transplants you add soil to fill the pot (leaving a bit of a depression in the center for the pot above) and then plant the seeds as appropriate for the varieties you are planting.
When you want to refresh a level of your garden you can take the pots apart and repeat the steps above with new additions in empty spaces, or you can just dig down into your pots while they are stacked and replant. You can decide whether you are going to take them apart or not based on your personal preference or on how deep the roots are growing from one pot into the soil below.
In the heat of the summer starting herbs may be a little more challenging from seed, but it can be done if they are protected from too much direct sunlight. Being able to move the tower around easily is helpful if you are trying to start seeds, so you can put them in filtered light until they are a bit more established, then bring them back to your porch or full sun when they are several inches tall.
As we are experiencing severe, or worse, drought in California we need to use our water resources carefully. Many of our ornamental shrubs and grasses (is plants a better word here?) can safely have water reduced to conserve water without causing long term damage to them. Our trees, one of our most valuable resources, need to be protected as well, but they can also do ok with strategically reduced water. Growing fruits and veggies take a lot of water so it's important to grow those edibles responsibly. Improper watering, or not enough water, can very quickly lead to problems with fruit set, production and reduced quality and flavor. Herbs are often the same way, and while some types can do ok with reduced water (like rosemary and lavender) most need to be evenly watered to get good leaf production. So, with the drought on everyone's mind you must ask yourself: is growing food at home a good use of water? The answer is yes!! Growing food and herbs at home have many benefits to your mental and physical health! You are also reducing the distance your produce travels from harvest to your kitchen and that can save resources! You can grow the produce you like and engage the family in the activity, having freshly harvested produce right at your doorstep! There are lots of ways to use your water wisely even in your edible garden by using drip irrigation, adding mulch and compost and growing varieties that are suited for your area. The three-tiered herb garden is a great way to have herbs at your doorstep that are easy to care for and take up a small amount of space using minimal resources.
Attached Images:
