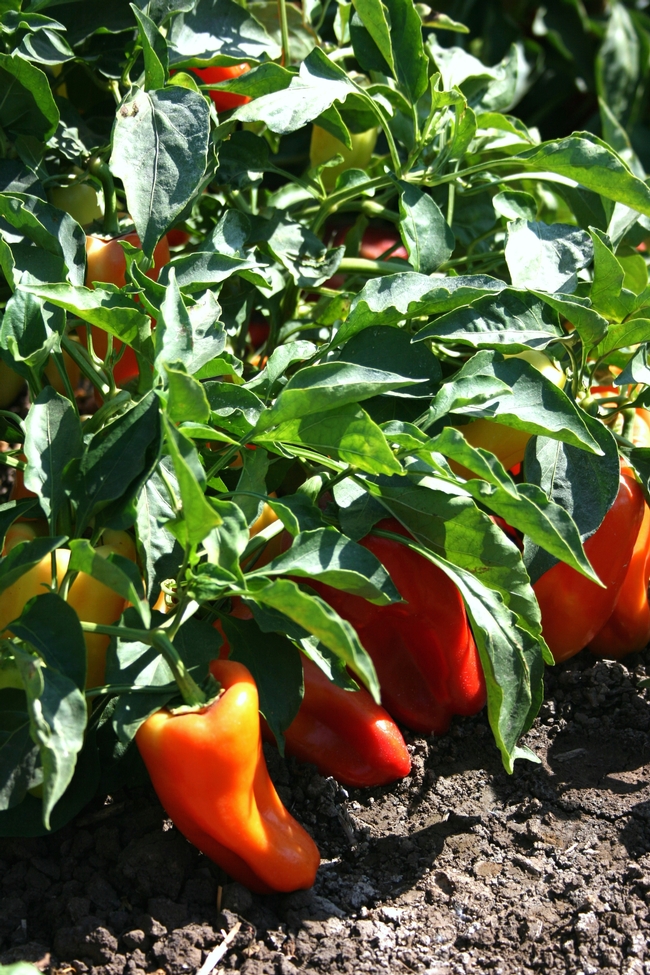
In the Americas, chiles are a traditional staple, along with corn, beans, squash, potatoes, and protein-rich grains, like quinoa. The Capsicum fruit is packed with nutrients like vitamin C, vitamin A, riboflavin, and niacin. It's also rich in calcium, phosphorus, iron, and potassium. An additional benefit comes with the spice; consuming chiles increases enzyme production and helps the body digest fats. This condiment is not only a flavor-booster – it's good for the heart! Chile connoisseurs have their favorites, which range from the super-spicy (Scotch Bonnets, Habaneros) to the mild and tasty (Sweet Cherry and Banana Peppers). California nurseries are expanding their selection of both chile plants and seeds. Treats like Shisitos (East Asia) and Pimientos de Padrón (Spain), once only found in high-end restaurants, can now be grown and grilled at home. Whatever variety appeals to you, all peppers grow well in sunny Southern California.
Capsicum annuum (chile) has three basic needs: full sun; warm weather; and well-drained soil. If you're planting from seed, it's best to start indoors by March or April. Don't worry about missing this year's germination time. Local nurseries stock ready-to-plant peppers of all kinds, and seeds can be gathered at harvest. First, choose a healthy plant, and then select a locale – either in a container or the garden plot. Be sure to separate chiles by variety, as they are notorious for cross-pollinating. This year's Serrano chile may wind up next year's Serrano/Pequín! The following are some basic tips for the chile gardener:

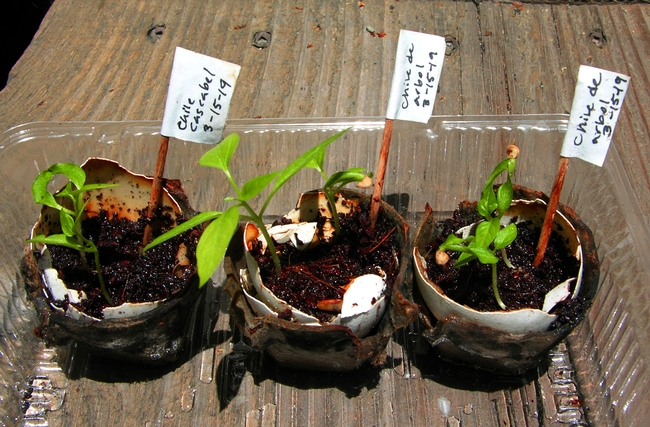
Transplanting – Chiles love sunlight. They prefer temperatures of up to 80 degrees in the day and not below 60 degrees at night. Seedlings can be transplanted once they have developed their true leaves. Transfer plants outdoors once night time temperatures have reached a consistent 50 degrees. Chiles prefer growing alongside other plants. Space them 14 to 16 inches apart, and stake plants if you expect winds.
Soil and Nutrients – Chiles require well-draining soil, and a slightly acidic environment (pH 5.5 – 7). If the planting mix is loamy or moist, adding sand will make for better drainage. A typical tomato fertilizer (5-10-10) can be applied, but chiles don't require much. In fact, too much nitrogen can damage the plant, and inhibit the fruit's growth, so fertilize sparingly. The best strategy is to start with a mineral-rich soil, high in phosphorous, potassium and calcium. Prepare your plots with nutrients before the seedlings go in, then fertilize again lightly when the fruit begins to appear.
Water – Water deeply, and infrequently. Adding warm water will prevent root shock. Do this when the soil surface dries, but don't allow the area to dry completely. Be careful not to over-soak the roots.
Special Care – Unlike zucchini or pumpkins, peppers are self-pollinating. In times of stress, however, hand-pollinating the flowers helps ensure a good yield of fruit. In the afternoon, when pollen levels are highest, use a soft paintbrush or cotton swab. Gently touch one flower center, then another. The fruit is ready to harvest when it comes easily from the stem, about 70 to 80 days from planting, depending on conditions. Chile season can go from July through September. Some types can be treated like perennials, so look for grower's instructions on over-wintering.
Seed Saving – To save seeds, remove them gently from the fruit. To prevent mold, allow them to dry slowly. Store seeds in a paper bag or envelope. When spring comes around, rinse and soak seeds for a few hours, then place in loose planting soil, about ¼ inch deep. Set seed trays in a warm place and moisten regularly. They'll be the start of next year's tasty crop.